How to Configure Sender Accounts
Assign senders to workspaces to control where email and LinkedIn events are tracked
Overview
Sender accounts determine where email and LinkedIn activity is tracked inside Outreach Magic. When you connect a new sender (email account or LinkedIn profile), it's automatically placed into your default workspace until you reassign it.
Configuring senders properly ensures:
Clean Reporting
Events are organized in the correct workspace for accurate analytics and attribution.
Workspace Isolation
Perfect for agencies managing multiple clients—each workspace stays separate and organized.
Step-by-Step Instructions
Follow these steps to assign senders to workspaces in Outreach Magic.
- 1
- 2
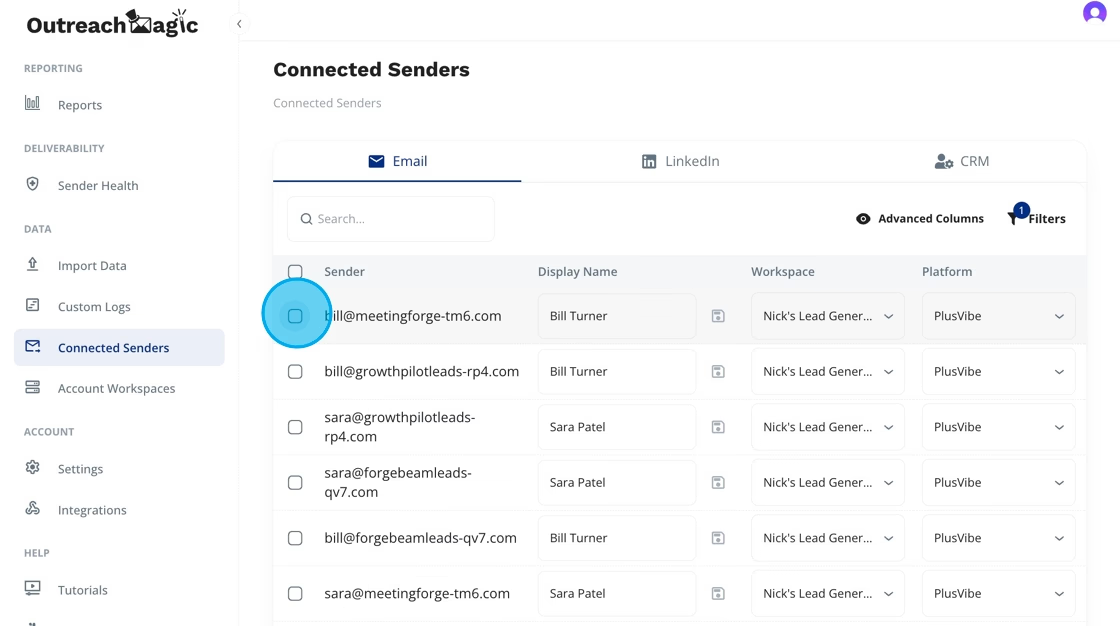
Select Senders to Update
Use the checkboxes next to each sender to select the senders you want to reassign. You can select multiple senders to manage them in bulk.
- 3
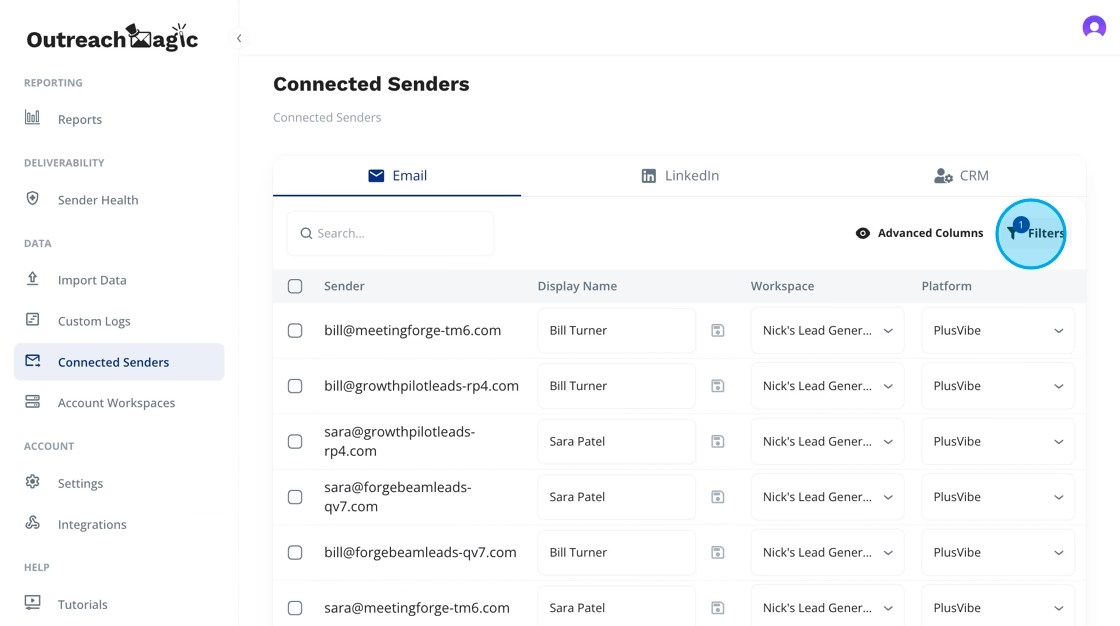
Open the Filters Panel
Click "Filters" at the top of the page to access workspace assignment options.

- 4
Select "All Types"
This lets you filter across all email and LinkedIn sender types in your workspace.

- 5
Choose Target Workspace
Click the Workspace dropdown and select the workspace where you want to assign the selected senders. This is important for agencies running multi-client environments.
The workspace you select determines where all future events from these senders will be tracked. Make sure you're assigning senders to the correct workspace for your reporting needs.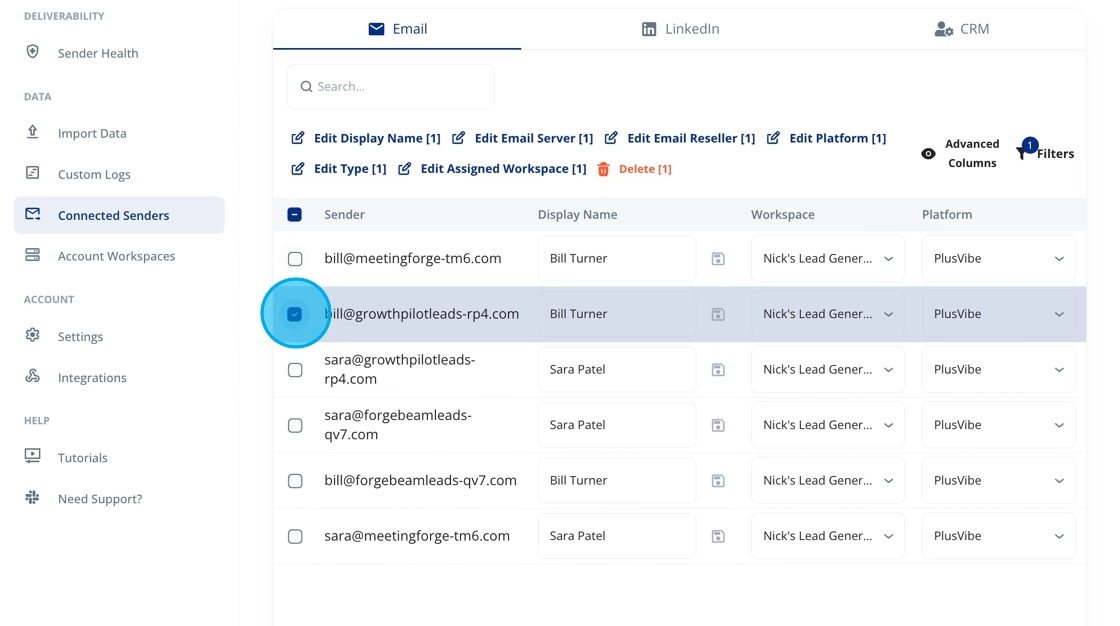
- 6
Apply Changes
Click the Save/Apply icon to confirm the sender assignment and update the workspace configuration.
 Done! Your senders are now assigned to the selected workspace. All future events from these senders will be tracked in that workspace.
Best Practices
For Agencies
Create separate workspaces for each client and assign senders accordingly. This keeps reporting clean and prevents data from mixing between clients.
Regular Maintenance
Review sender assignments periodically, especially after adding new email accounts or LinkedIn profiles. New senders default to your default workspace.
Bulk Management
Use the checkbox selection feature to update multiple senders at once. This saves time when organizing large numbers of senders.
Alternative Methods
API-Based Configuration
If you prefer to manage sender assignments programmatically or need to automate the process, you can use the Outreach Magic API. This is especially useful for:
- • Automating sender assignments based on rules
- • Integrating with other tools and workflows
- • Bulk updates via scripts or automation
Ready to Configure Your Senders?
Start organizing your senders into workspaces for cleaner reporting and better organization.