Integrate Instantly & Smartlead Reporting in One View
Running multiple sequencers? Connect Instantly and Smartlead via webhooks into one local SQLite database your agent can query. No more CSV merges.
> Note: Outreach Magic is now an agent skill with local SQLite, not a SaaS dashboard. Setup today starts at getting started. This post describes the legacy dashboard flow for reference.
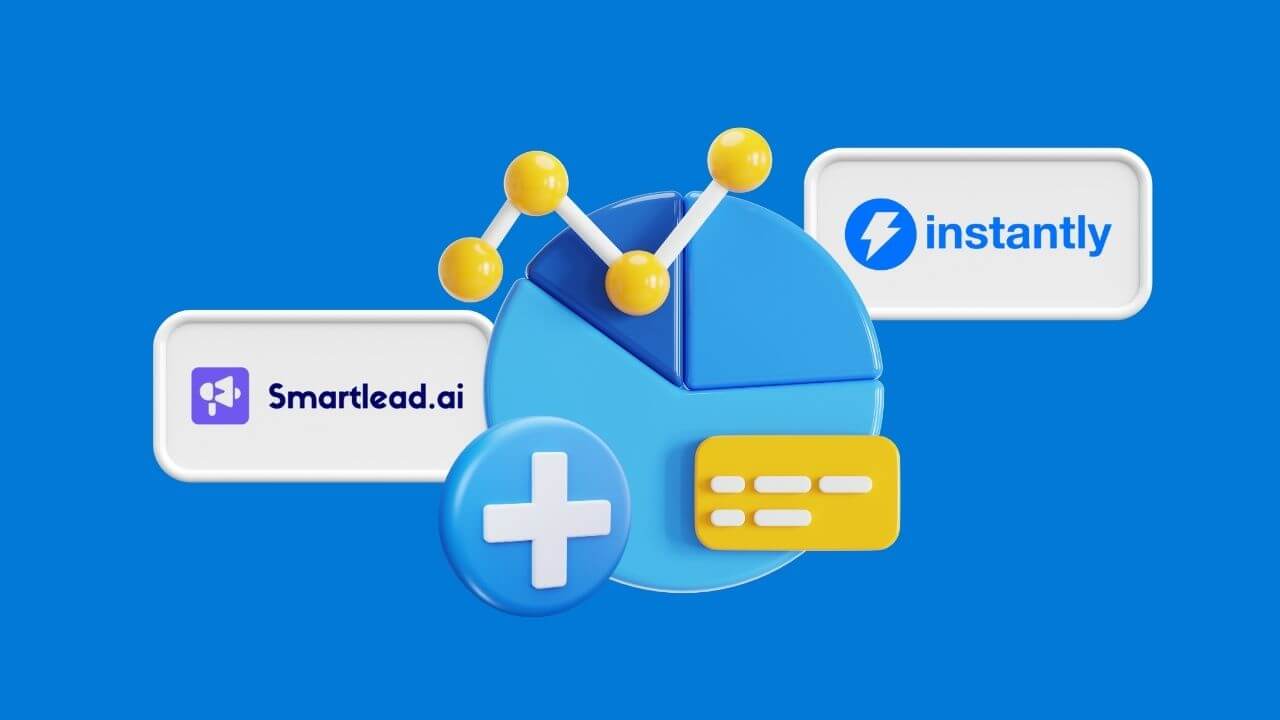
Are you juggling multiple platforms for your cold outreach? One for LinkedIn, another for email, maybe a separate CRM, and a spreadsheet to try and make sense of it all? If you're running campaigns on Instantly, Smartlead.ai, Lemlist, HeyReach, Prosp.ai, or other popular tools, you know the struggle. Tracking performance across different platforms, email accounts, and client campaigns can feel like an impossible task. The data is scattered, the insights are buried, and you're left guessing what’s really working.
That’s the exact problem we built Outreach Magic to solve.
Outreach Magic is an agent skill and local database designed to bring all your cold outreach data into one clear, queryable local database. In the video above, our founder, Spencer McMurtry, walks through the initial setup. In this post, we’ll break down those steps so you can get started and finally gain control over your outreach analytics.
Getting Started with Outreach Magic: A 5-Step Setup Guide
The setup process is simple and designed to get you up and running quickly. Here’s how to do it.
Screenshot of the Outreach Magic Account Profiles page, showing how to create separate profiles for different client campaigns for organized reporting.
Step 1: Create Your Account Profiles
The first step is to organize your workspace. If you're a lead generation agency or manage outreach for multiple businesses, this is crucial for keeping data separate and clean.
- Navigate to the Account Profiles section in the left-hand sidebar.
- Click Add new account profile.
- Create a unique profile for each client or internal campaign you are managing (e.g., "ClientA," "SaaS_Campaign," "Flowdeck").
This ensures that all data associated with a specific client is funneled into the correct report, preventing overlap and confusion.
Screenshot of the Outreach Magic Webhooks page, highlighting the list of integrated outreach tools like Instantly and Smartlead.ai and the Copy Webhook URL button.
Step 2: Integrate Your Tools with Webhooks
This is where the magic happens. Connect your outreach platforms to Outreach Magic using webhooks. Events (sends, replies, connections accepted) sync into your local SQLite file automatically.
- Navigate to the Webhooks section.
- You will see a list of the platforms we integrate with, including:
- Find the tool you use (for this example, we'll use PlusVibe) and click Copy Webhook URL.
Configuring a webhook in an outreach platform by pasting the Outreach Magic URL and selecting all event types for complete data synchronization.
Step 3: Configure the Webhook in Your Outreach Platform
Now, head over to your outreach tool (e.g., PlusVibe, Instantly, etc.) to paste the webhook. The process is similar across most platforms.
- In your tool's settings, find the Webhooks or Integrations section.
- Click to Add a new webhook.
- Name the webhook something memorable, like "Outreach Magic."
- Paste the URL you copied from Outreach Magic into the URL field.
- Campaigns: Set it to trigger for All Campaigns.
- Event Types: This is the most important part. Select all available event types. You want to track everything: emails sent, emails replied, positive replies, meetings booked, interested, not interested, etc.
- IMPORTANT: Make sure to uncheck any options that say "Skip Out of Office Replies" or "Skip Automatic Replies." We want this data to properly analyze deliverability and reply sentiment.
- Save the webhook. Repeat this for every tool you use.
Assigning an email sender to a client profile and platform in the Outreach Magic Event Senders dashboard for accurate analytics.
Step 4: Configure Your Event Senders
As soon as your campaigns run, your sender accounts (e.g., alex@yourcompany.com or a LinkedIn profile) will automatically appear in the Event Senders page in Outreach Magic. You just need to add a little more context for better reporting.
For each sender that appears:
- Assign Profile: Assign the sender to the correct client profile you created in Step 1.
- Sender Name: Give the sender a recognizable name (e.g., "Alex Moore").
- Platform: Specify which tool is using this sender (e.g., Smartlead, PlusVibe).
- Email Server & Reseller: Add details like "Google Business" or "Microsoft Business" and the email reseller if you use one (e.g., Voltic). This is incredibly powerful for diagnosing deliverability issues and comparing the performance of different email providers.
Uploading a lead list CSV file to the Outreach Magic Attributes Upload page to map lead data like company industry and job title for advanced reporting.
Step 5: Upload Your Lead Attributes
To unlock the most powerful insights, you need to tell Outreach Magic about the leads you're contacting. This is done by uploading the same CSV file of your lead list that you uploaded to your outreach tool.
- Go to the Attributes Upload page.
- Click Upload CSV File.
- Give the list a name and assign it to the correct client profile.
- Upload your file. Outreach Magic will automatically map standard columns like First Name, Last Name, Email, Job Title, and Company Name. You can adjust any mappings as needed.
- Click Upload Attributes.
Once the file is processed, your local database is enriched with this data. Ask your agent to slice performance by job title, industry, company size, and more.
You're All Set!
That’s it! With these five steps complete, events from all your outreach channels land in one local SQLite file. Ask your agent to compare email and LinkedIn performance side by side, or pull a client briefing without opening five tabs.